Welcome to another stop on the Sew Seasonal Blog Hop organised by Kristy at
Quiet Play and Alyce from
Blossom Heart Quilts.
Between them Kristy and Alyce have designed 25 pieced or paper-pieced blocks that can be used in such a variety of ways for great Christmas projects. They are also making the patterns for each block available free throughout November so now is the perfect time to try them out! The paper pieced patterns are available
here and the pieced patterns are available
here If you need any further incentive though they have also lined up some fabulous prizes for the link party on November 30th where you can link up any projects you have made with the blocks. Full details of the prizes up for grabs are
here The full FQ bundle of Kate Spain's Joy collection would look so good in my stash!
If you need to stock up on Christmas fabric for the Blog Hop projects well Kristy and Alyce have thought of that too! Chrissy from
Sew Lux Fabrics has set up a special
discount code on Christmas fabrics in her shop. The code is "
sewseasonal10" and is for 10% off all
Christmas fabric (Joy, Blitzen, and Sentiments) through November 18th. A
charm pack or layer cake will work perfectly for the patterns but, of course, it would be a shame to restrict yourself to just one :)
Today I am sharing the Hop with
Juliet who blogs at the Tartan Kiwi, pop on over and check out her Christmas Tree potholder, it is lovely.
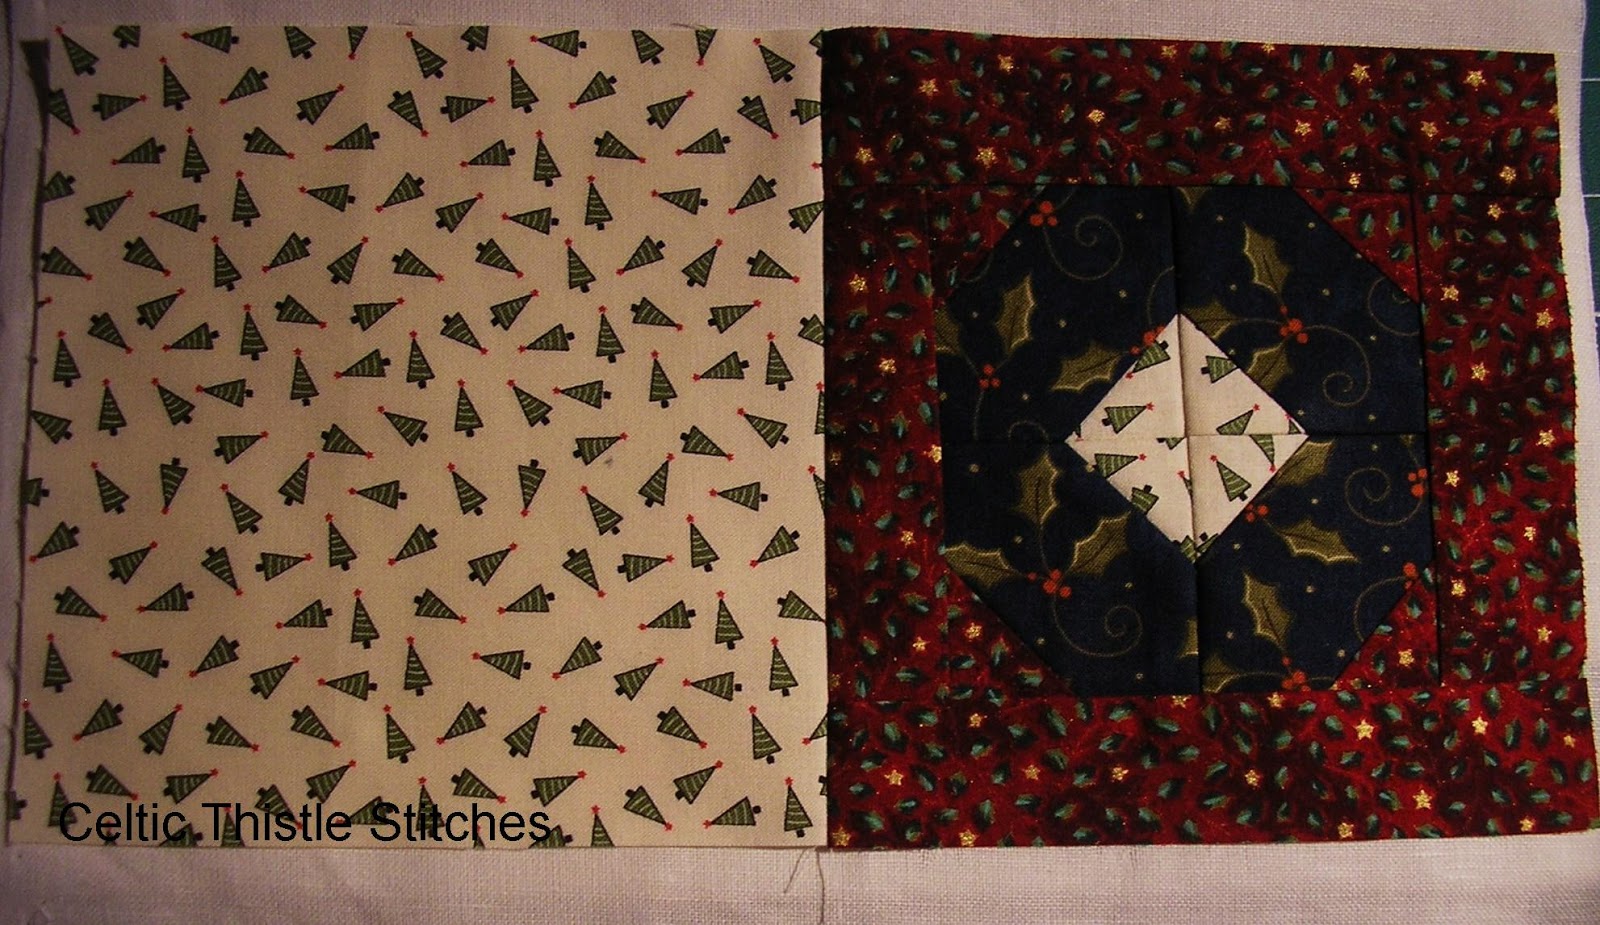
Whilst Juliet was busy paper-piecing I had the much less onerous task of piecing an Ornamental block designed by Alyce. The block instructions are given for two sizes, 5" and 10" blocks, so I chose to make a 5" block.
The block was so quick to put together that I initially had grand plans of making lots of them for this post, but naturally life, and more specifically unpacking got in the way. So I only ended up with time to make 1 block, and then had to think of something useful to do with it for the Blog Hop!
I don't know about you but I always feel a little guilty about the lack of effort involved in handing over money or vouchers to my teenage nephews at Christmas. I know that as far as they are concerned both of these things are much more welcome than anything I might pick for them (definitely out of date and categorically "uncool")! So with that in mind I decided that this year although there will still be money involved it will be presented in a decidedly handmade manner.
With my Ornamental block I have made a Money/Voucher Gift card to add a little touch of handmade to the usual Christmas exchange of cash.
To make your own you will need
1 small Ornamental block. I increased the size of the borders to 1.5"
1 - 6.25" x 6.25" square of contrast fabric for the Gift Card back
2 - 6.25" x 12.5" plain red fabric for the lining and interior pocket
1 - 1.25" x 12.5" patterned fabric for the pocket binding
1 - 6.25" x 12.25" stiff interfacing. I used pelmet interlining but you could also use stiff fusible interfacing
Join the Ornamental block to the square of contrasting fabric to make one large rectangle.
Take one of the lining pieces and fold it in half length ways and press. This is the interior pocket piece. Fold the binding strip in half length ways and press. Open out the strip and fold each length ways side into the middle. Press. Sandwich the folded edge of the interior pocket piece in between the folded sides of the binding strip. Pin and stitch the binding strip to the pocket along the edge of the binding strip, making sure that you catch both the front and the back of the binding strip in the stitching.
Layer the pieces in the following order - Gift card exterior right side up, pocket piece right side down matching up along the bottom and side edges of the exterior, second lining piece right side down, interfacing. (If you use a fusible interfacing instead of the stiff interlining fuse this to the exterior piece before layering). Pin and stitch round all edges of the layered pieces leaving a gap at one of the short ends to turn the Gift Card right side out. It will help turning out the corners if you leave a big enough gap to fit your hand through.
Turn the Gift Card right side out through the gap. If you are using stiff interfacing this will need to be manipulated through but don't worry about scrunching up the interfacing as any creases will be ironed out.
Once the Gift Card is turned right side out use a knitting needle or similar to push out the corners, then turn under and slip stitch the opening closed.
Fold the card in half width ways and stitch down the crease line to reinforce the card shape.
A final press and you have a handmade Gift Card for that money gift. So much nicer than a plain envelope!
I think I will have a go at Kristy's paper-pieced present for the next one, what about you?
Check out the rest of the stops on the Blog Hop at
Lots more inspiration still to come!


