Tuesday, 21 July 2020

And some patchwork too

Despite my new obession with making clothes for little people I have managed to fit in some patchwork sewing too.

I have been stitching along with Jacquelynne Steve's Silver Linings Sew Along, where she posts instructions for a 6.5" block every Monday for 12 weeks.


The 12 weeks are almost up but you can catch up with the blocks here.

There are instructions for bonus embroidery blocks available too but I have chosen to ignore them for the time being :)

I haven't been taking photos of my blocks as I have gone along other than these at the beginning, but as you can see I decided to make 3 of each block so that I would end up with a useful size quilt at the end. The turquoise, white and yellow block is the only one that I made with all solids, all of the rest are made with whatever print scraps I had to hand. I decided after I had a few blocks for comparison that the solids block just didn't fit in with the rest so I have already made another of that block with prints that I will use instead when I put them all together.
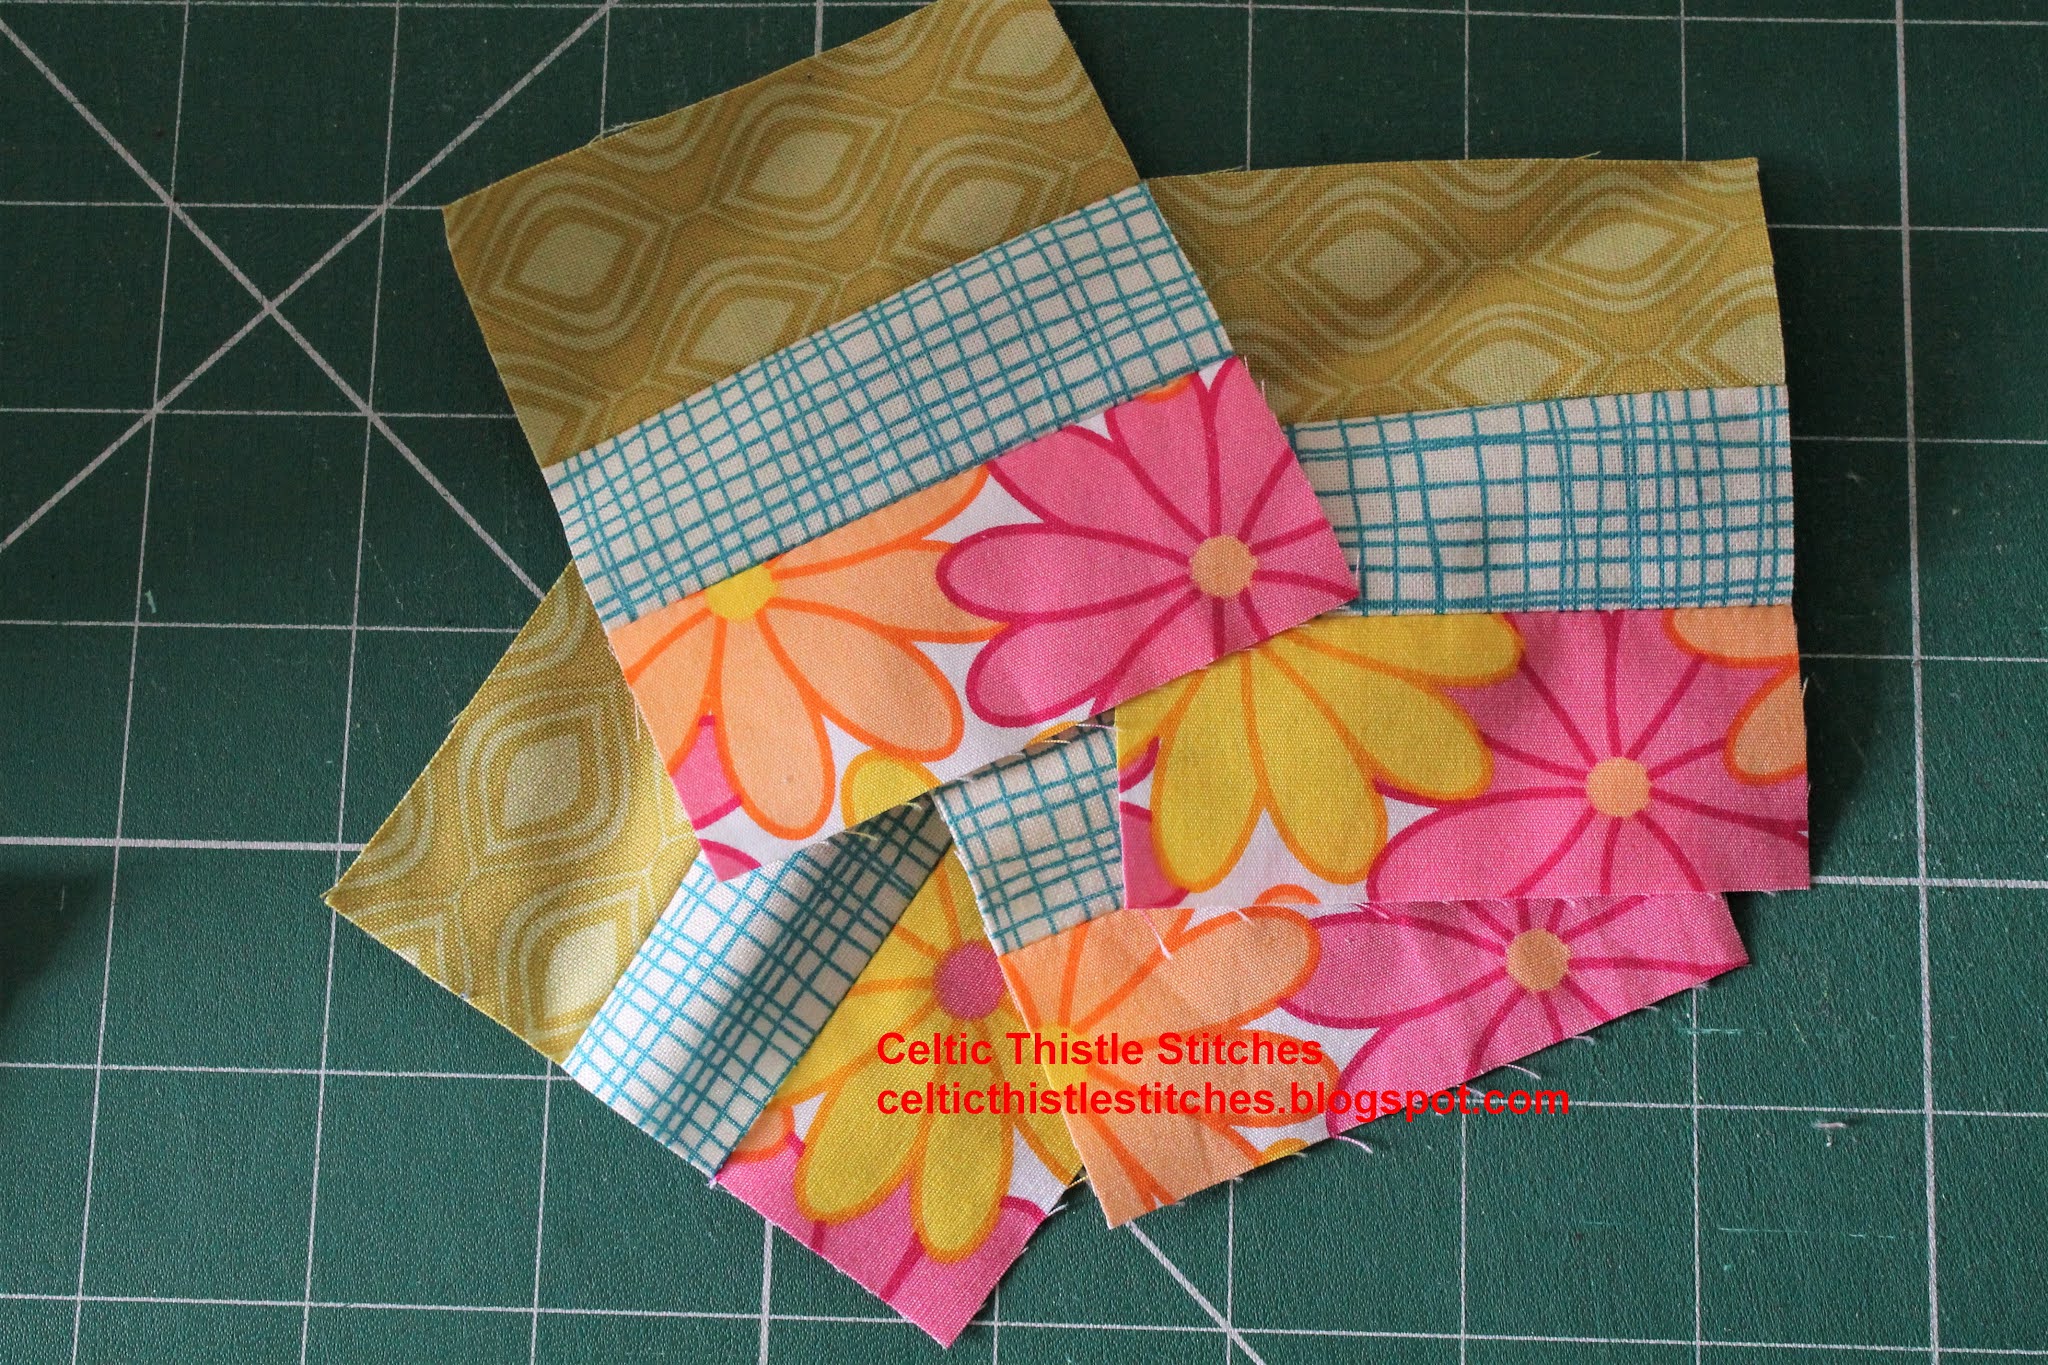
Just in case you think it has all been plain sailing, I only discovered after I had cut all of the squares for the final block that these were all 3" when they needed to be 3.5" !!!

Like many of you, I am sure, I have taken the opportunity that the current crisis provided to revisit some old (very old!) projects in the hope of having a much reduced WIP pile when (if?) life returns to normal.

My first venture into the world of patchwork and quilting was in an evening class in 2006, where I signed up to make a sampler quilt. Having no idea of what I was taking on I elected to make a quilt of 25 QAYG blocks, and then to make life more complicated I opted to make the blocks on point!

All but one of the blocks were pieced years ago but I never completed the central block, a Folded Star block. Over the years I thought about knuckling down and getting that block finished but it has taken me until now to actually do it! The original instructions, if there were any, had long gone, so a quick Google search was needed to work out exactly what needed to be done. As I usually find, there wasn't that much left to do to complete the block.


The central star was already attached to the backing block so all I needed to do was add the outer frame fabric, sashing strips and the corners to put the block on point. After a mild panic when I thought that I had run out of the corner fabric, it did not take long to finish the block.


I just echo quilted the circle and the square frame as there is enough going on in the block! The points are not quite as accurate as I would, hopefully, be able to achieve nowadays, but as they say "finished is better than perfect"!

Now to get to grips with joining them all together :)


Sunday, 19 July 2020

On a roll

The new obsession continues!

I have had a Jalie t-shirt paper pattern sitting in my cupboard for over a year and had the fabric to make several t-shirts sitting next to it for nearly as long :) If there was ever a time to dig it out and have a go then surely this was it!

Having only ever used pdf patterns before tracing patterns was a whole new world, so once I had managed that it was time to get busy.

So, that is what I did.


First up a penguin pirates t-shirt for the littlest gorgeous grandson! This fun fabric from Jelly Fabrics has been sitting in a drawer calling to me for months! I am so pleased to have finally used it :)


Next up a bigger pirate t-shirt with contrast sleeves.

Then a little cream rocket t-shirt with fabric that I bought in Japan on our trip there last year.

and a blue rocket t-shirt for big brother.

Then I got carried away and made 4 more t-shirts for the boys mixing up fabrics when I was just short of enough for a whole t-shirt.

The pattern Jalie 2918 , bought from Sew Hot, includes 27 different sizes in the instructions from age 2, which was one of the reasons that I bought it, as I intended one day to make matching t-shirts for my son and grandsons.

Well that day had arrived! Matching t-shirts for Daddy and his boys :)

I knew that my son struggles to get t-shirts that are long enough so I asked my d-i-law to measure one that she knew fitted him and send me the details. After a bit of mathematical confusion (the first cut was nearly dress length!) I finally worked out what length it really needed to be :)

I had never attempted a v-neck before but I am quietly pleased at how they have turned out, well apart from the exception below.

I used jersey ribbing for all of the v-necks except for the three matching t-shirts where I used the same jersey as for the body of the t-shirt. My son tells me that the smallest t-shirt is impossible to get on over the head of our grandson so I have asked him to send it back and I will change it for ribbing as the others all fit him fine :( I am guessing that the neckline strip on that t-shirt is not cut to have the greatest stretch in the fabric for the neck opening so there isn't enough give, hopefully replacing it with ribbing will solve the problem.

The pattern cost £14.50 and at the current rate of production I am down to just over £1.60 per use, which helps to justify the cost of the fabric, well in my mind it does :)

Have you developed any new obessions during lockdown?


Wednesday, 15 July 2020

A new obsession

Blogging has taken a bit of a back seat to my new sewing obsession! With the combination of lovely weather (sadly now gone!) and time on my hands I have been enjoying creating new summer clothes for the gorgeous grandsons.

Hippo shirt and matching plain shorts for the elder grandson

Hippo shirt and matching plain shorts for the littlest grandson!

Both of the outfits have been received with thanks and I am pleased to know that they both fit their recipients :)


Emboldened by the success of the quilting cotton shorts I purchased some cotton twill from Fabric Inspirations and went on to make two more pairs of shorts - denim twill above

with red patch back pockets for one gorgeous grandson

and plain red twill for the other!

The pattern I used was the free Sunny Days Shorts pattern from Oliver + S, it was really straightforward to make and as you can see offers opportunities to customise too.

The designer suggests adding a ribbon tag to the back waistband of the shorts to make identifying the front and back easier for little (and big!) people so naturally I added a tartan ribbon to remind them of the maker :)


Related Posts Plugin for WordPress, Blogger...